Sending Log Files to CrashPlan Support
Overview
If you are a CrashPlan+ or DFW DataVault customer having an issue with CrashPlan that you can't resolve on your own (or couldn't get the answers from the Support forum), Support may ask you to provide your log files to help them investigate the issue effectively. Assembling and sending the log files involves:
- Dumping the client state to the service log file
- Archiving (“zipping”) entire the log directory
- Emailing the archived file to Support
How It Works - Dump the Client State
If you cannot open CrashPlan, skip this step.
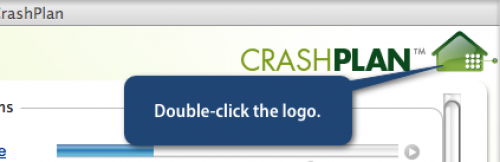
- On CrashPlan's Backup tab, double-click the CrashPlan logo in the upper-right corner.
- In the command line at the bottom of the window, type dump all
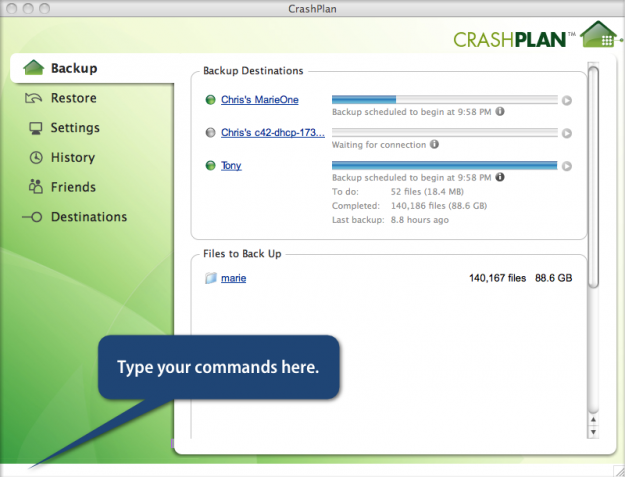
- Press Enter.
The client state dumps to the service log file for easy reading.
How It Works - Archive Entire Log Directory
Support needs all the files in the log directory in order to help.
- In your file system, navigate to the log directory.
- Log File Locations
- Mac: /Library/Logs/CrashPlan
- Windows: C:\Program Files\CrashPlan\log
- Linux (default): /usr/local/crashplan/log
- Solaris (default): /opt/sfw/crashplan/log
- Archive (create a ZIP file) of the entire the log directory to compress it.
- Mac: Ctrl+click on the /Library/Logs/CrashPlan directory and select Compress (Leopard) or Create Archive (Tiger)
- Windows: Right-click the file or folder, point to Send To and then click Compressed (zipped) Folder
- Email the compressed file to support@dfwdatavault.com